October 2024 - Paint, Demo, Kitchen
October was a productive month where I was able to focus on the kitchen, finishing the demo of the bathroom in my unit, and take care of some pluming issues.


Replacing the hose bib turned out to be quite a challenge, even though it seemed like it should have been a simple fix. Like most of my DIY projects, it ended up being unexpectedly difficult.
I started by trying to remove the hose bib from the outside with a crescent wrench. I managed to loosen something, but it wasn't the hose bib. To make things worse, the loosening started to feel like it was getting tighter again.
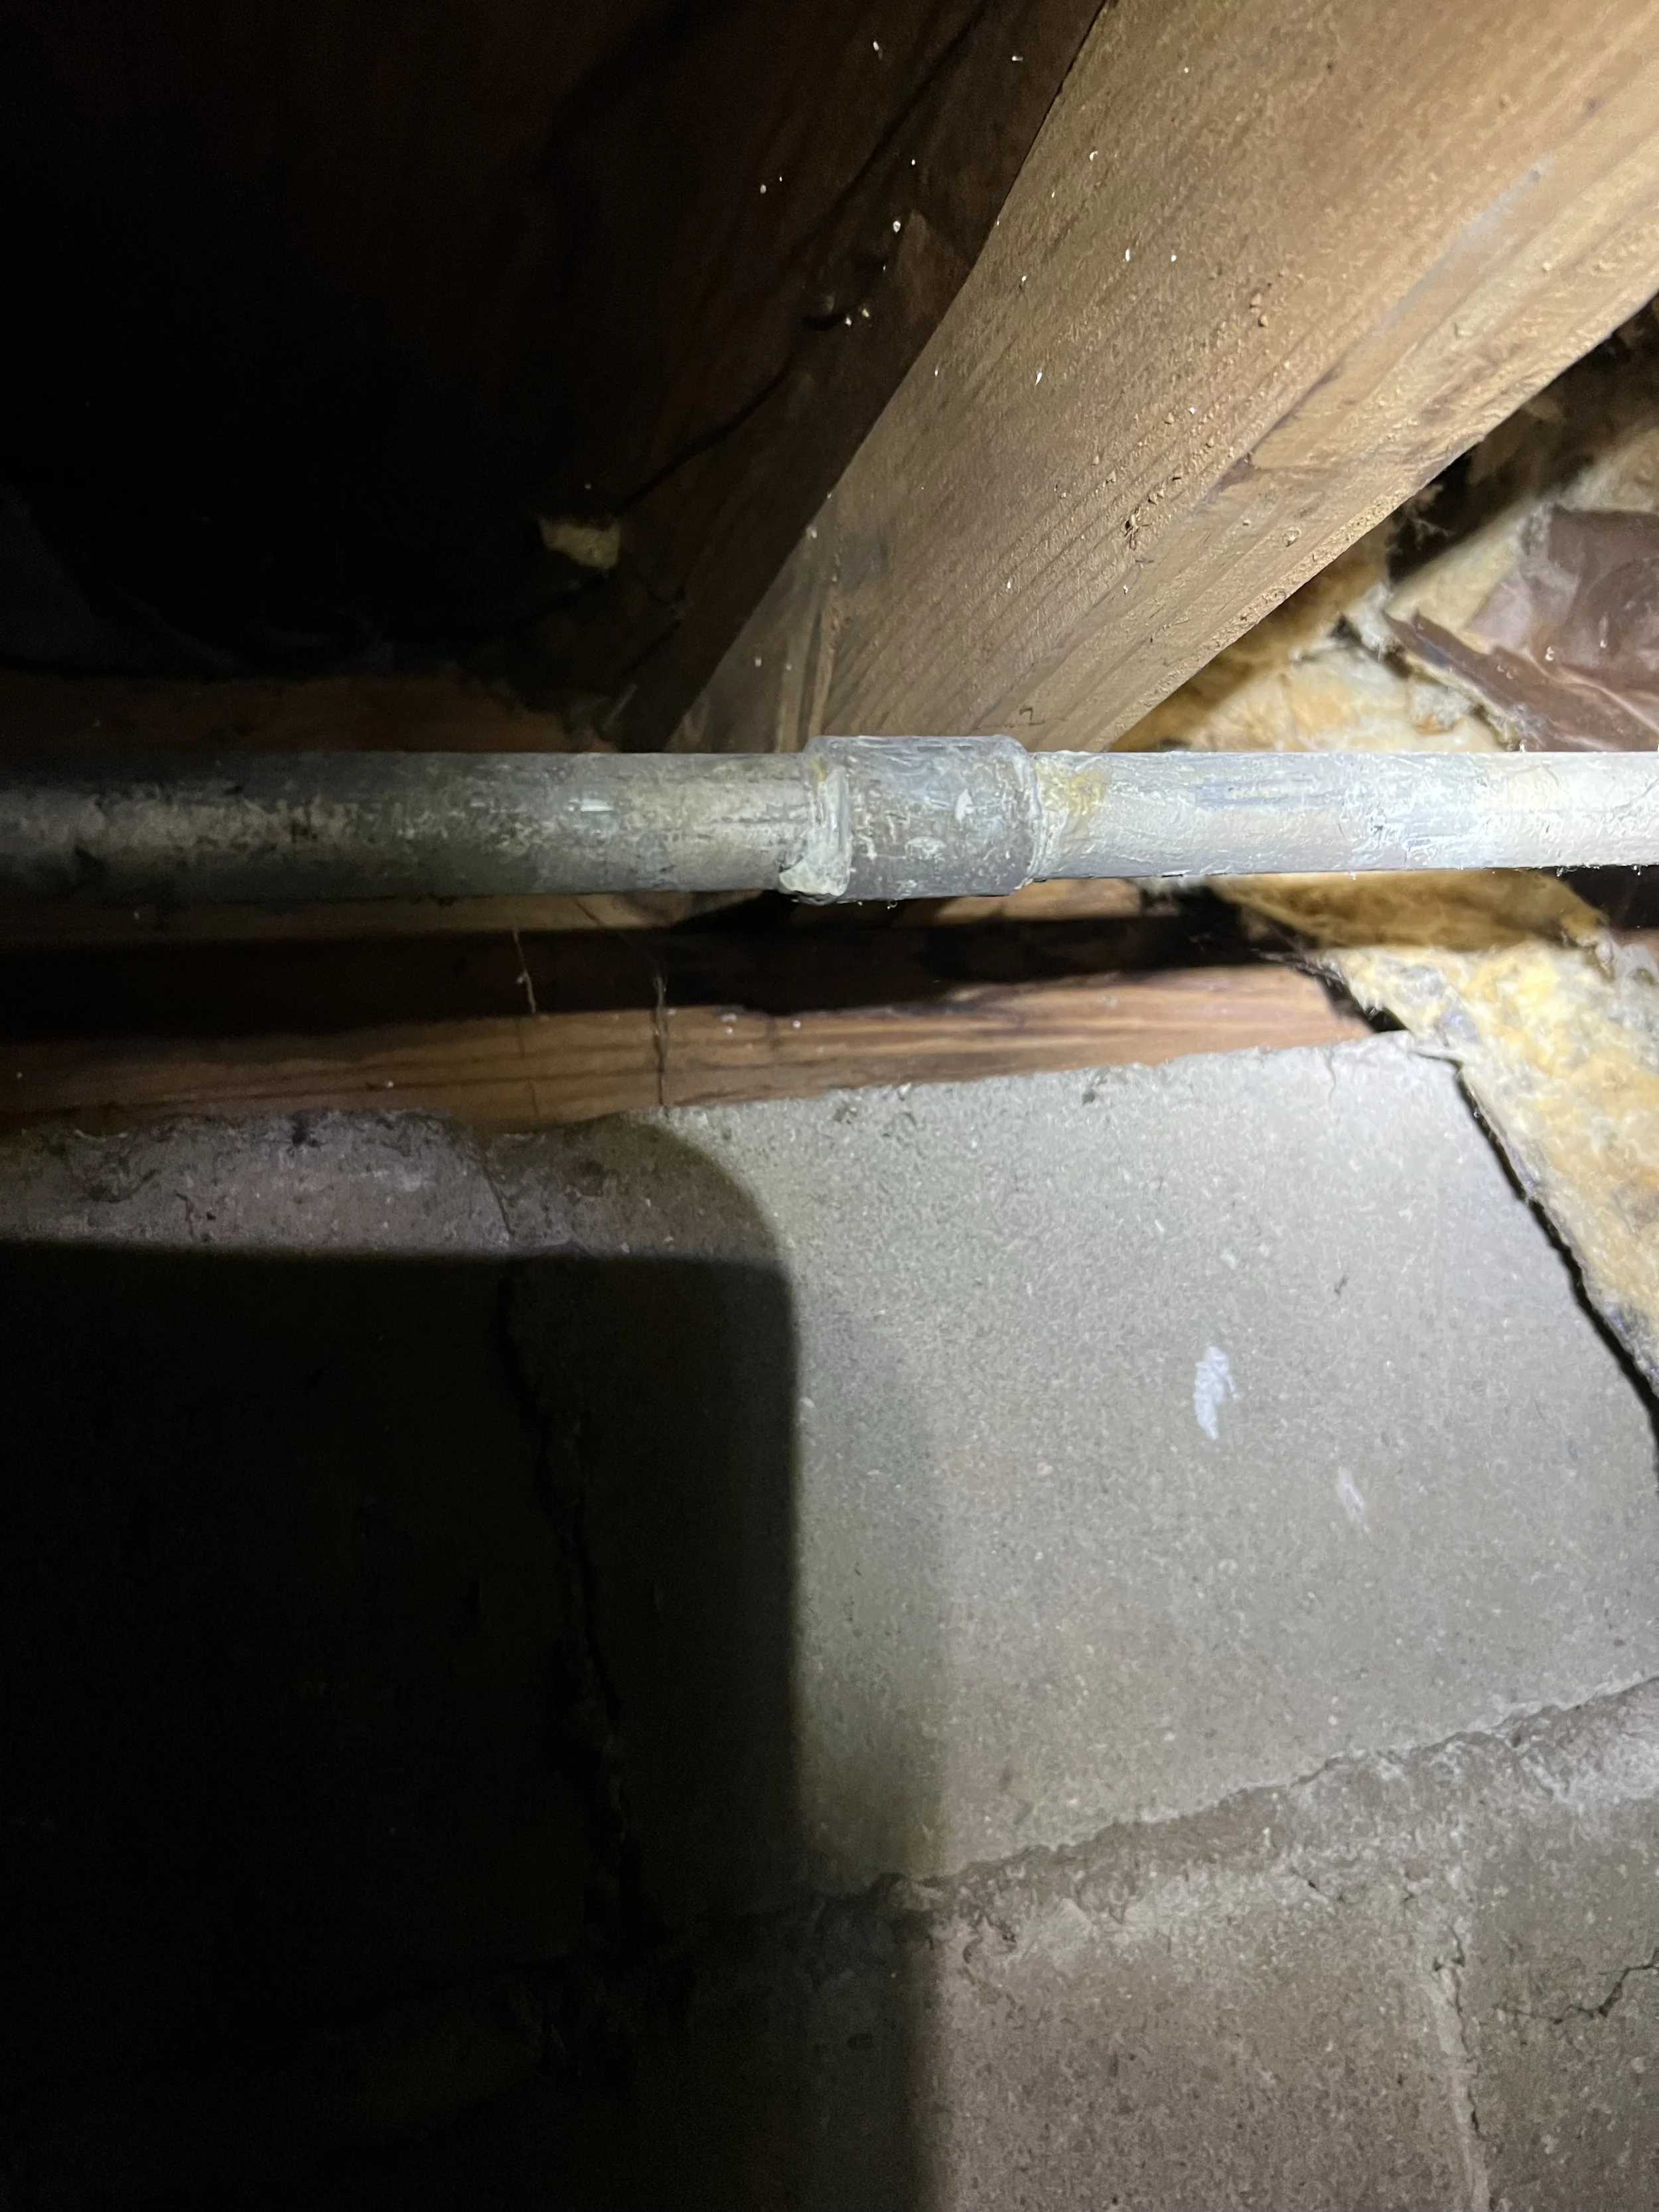
When I checked in the basement, I found out that I had loosened the pipes two joints back, about 20-30 feet into the basement. The grounding cables connected to the pipe had wrapped around and twisted the line tight. So, I temporarily removed the cables and tried to figure out what to do next.
I decided to get into the crawl space directly on the other side of the hose bib and loosen the joint there. After buying a pipe wrench and vice grips, I was able to loosen the joint at this location. Then, I fixed the joint I had accidentally loosened and reattached the grounding cables.
Next, I installed a new 18-inch pipe and put the hose bib on from the outside. One big issue at each step was that the pipe wrench and vice grips were stripping the tooth depth in metal off of the pipes. Getting a tight enough grip to turn the pipe and have proper leverage without breaking more joints or the old pipes themselves was a struggle and a constant worry throughout the whole process.
In the end, I managed to replace the hose bib, but it was definitely more complicated than I expected.


The first two images above show the aftermath of ripping out the rest of the wall tile in my bathroom. The bathroom is completely gutted at this point, revealing some serious water damage and a ruined old oak floor. It's kind of impressive how resilient the old oak is, though. Even in spots where water had destroyed the outer layer, the middle was still solid.
One of the last areas to prime and paint was the kitchen. I knew I didn’t want all white, and I needed to do something to make those floor tiles look better (they're so ugly). After spending some time on Pinterest and Google Images, I decided on a dark navy or bluish grey. I ended up picking Behr Midnight Blue, which I didn't even notice until I was at the cash register and saw it on display. I painted the trim and the bottom half of the kitchen that color, and it made a huge difference! (especially for the appearance of the tile).
A friend helped me remove the old kitchen and stove. They were still operational but disgusting and on their last legs. The gas stove especially was a potential fire hazard with rust all over it. I decided it wasn’t worth my time to try and sell or recycle them. I put them on the curb, and within a few hours, a scrapper came by and picked them up. Maybe not the best financial decision, but I was done adding extra tasks at that point.
I bought two new stainless-steel appliances from American Freight that will hopefully last for a few decades and help command a higher rent price. The stove upstairs is electric, so I'm personally jealous of whoever ends up renting downstairs because of the new gas one.